History Lists
TaxWise Online allows the admin user to create predefined lists of selections so their preparers can choose from a drop-down list rather than having to enter the data manually. The creation of history lists is done within Return Templates.
Creating History Lists
- Log in as the Admin user.
- Click your name on the top right of the screen and select Settings.
- Click Return Templates.
- Click the Edit button
 on the row you want to edit.
- Navigate to the field for which you wish to create the history list and click the Manage History List button.

TaxWise Online displays a User Defined History List dialog:
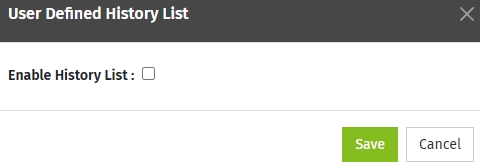
- Once you select the Enable History List check box, TaxWise Online displays the full User Defined History List window:
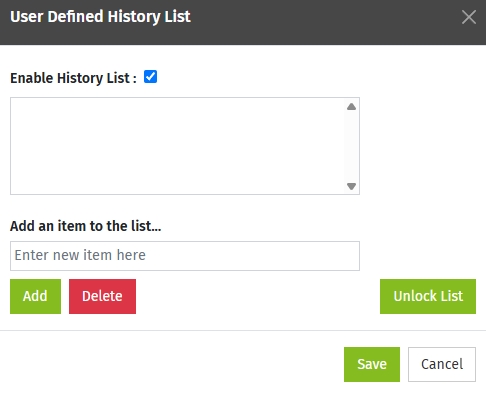
- Begin typing the list options in the Add an item to the list... box, then click Add.
- If you wish to remove options from the list, highlight it in the list and click Delete.
- If you wish to allow other users to edit the list and enter values other than those in the predefined list, click the Unlock List button. The list can be locked at a later time by clicking Lock List on this screen.
- Once you have finished creating your history list, click Save.
- The admin user must assign the Return Template to users for the history lists to be available in returns.
- After the return template has been assigned to users and they navigate to a field containing a history list, the list will display in a drop-down for input selection.

See Also:
Create Return Templates
Edit Return Templates
Publish Return Templates
Lock and unlock Return Template fields